Pixelated and blurry images in Adobe InDesign can disrupt the quality of your design work. Addressing this issue ensures your project maintains a professional look. Here are steps to troubleshoot and fix pixelated images in InDesign.
Table of Contents
- Check Image Resolution
- Adjust Display Performance Settings
- Link Images Correctly
- Use Appropriate Image Formats
- Adjust Image Scaling
- Embed High-Resolution Images
- Export Settings
- Preflight Your Document
- Ready-to-Use InDesign Templates
- Conclusion
- Frequently Asked Questions
Check Image Resolution
Image resolution is critical in ensuring that your design appears sharp and professional. Low-resolution images are a common cause of pixelation, especially in print materials. Follow these steps to check and adjust the resolution of your images.
- Open your InDesign document.
- Select the image that appears pixelated.
- Right-click the image and choose Display Performance.
- Ensure High Quality Display is selected.
- Verify the image's resolution. It should be at least 300 DPI (dots per inch) for print quality.
Adjust Display Performance Settings
Sometimes, the display settings in InDesign can cause images to look pixelated even if they are high-resolution. Adjusting the display performance can help improve the visual quality of your images on the screen.
- Go to the View menu.
- Select Display Performance.
- Choose High Quality Display.
- If the image improves, your issue was display-related, not resolution-related.
Link Images Correctly
Ensuring that images are correctly linked within InDesign is essential for maintaining image quality. Missing or outdated links can cause images to appear pixelated. Here’s how to check and correct image links.
- Open the Links panel by going to Window > Links.
- Check for any missing or outdated links.
- If links are missing, locate the original files and relink them by clicking the red question mark icon.
- If links are outdated, update them by clicking the yellow triangle icon.
Use Appropriate Image Formats
Using the right image formats can significantly affect the quality of your designs. Formats like TIFF, PNG, and high-quality JPEG are ideal for print and digital use, while formats like GIF may cause pixelation.
- Ensure your images are in appropriate formats like TIFF, PNG, or high-quality JPEG.
- Avoid using low-resolution images or formats like GIF that are not suitable for print.
Adjust Image Scaling
Scaling images beyond their original size can lead to pixelation. Keeping the scaling percentage at or below 100% helps maintain the image's original quality. Follow these steps to check and adjust image scaling.
- Select the image in your InDesign document.
- Check the scaling percentage in the control panel.
- If the image is scaled up beyond 100%, it may appear pixelated.
- Try to keep the scaling at or below 100% to maintain image quality.
Embed High-Resolution Images
Embedding images in your InDesign document can prevent pixelation caused by missing or low-resolution linked files. This ensures that your images maintain their quality regardless of file location.
- Open the Links panel.
- Select the image you want to embed.
- Click on the panel menu and choose Embed Link.
- This can ensure the image remains high-quality without relying on external files.
Export Settings
Incorrect export settings can degrade image quality. Adjusting your export settings ensures that images remain high-quality when converted to other formats. Follow these steps to optimize your export settings.
- When exporting your document, go to File > Export.
- Choose Adobe PDF (Print).
- In the Export Adobe PDF dialog box, select the Compression tab.
- Set Bicubic Downsampling to at least 300 pixels per inch.
- Ensure Compress Text and Line Art is checked.
Preflight Your Document
Preflighting your document helps identify any issues that might affect print quality, including image resolution problems. Regularly preflighting your InDesign projects can help you catch and fix these issues before finalizing your design.
- Go to Window > Output > Preflight.
- In the Preflight panel, check for any image-related errors.
- Resolve any issues highlighted in the preflight check to ensure all images are high quality.
Ready-to-Use InDesign Templates
Creating a professional design from scratch can be overwhelming. That’s why Ruben Stom Design offers a selection of professional Adobe InDesign templates to streamline your design process. These templates cater to various needs—whether you're designing a flyer, brochure, magazine or book.
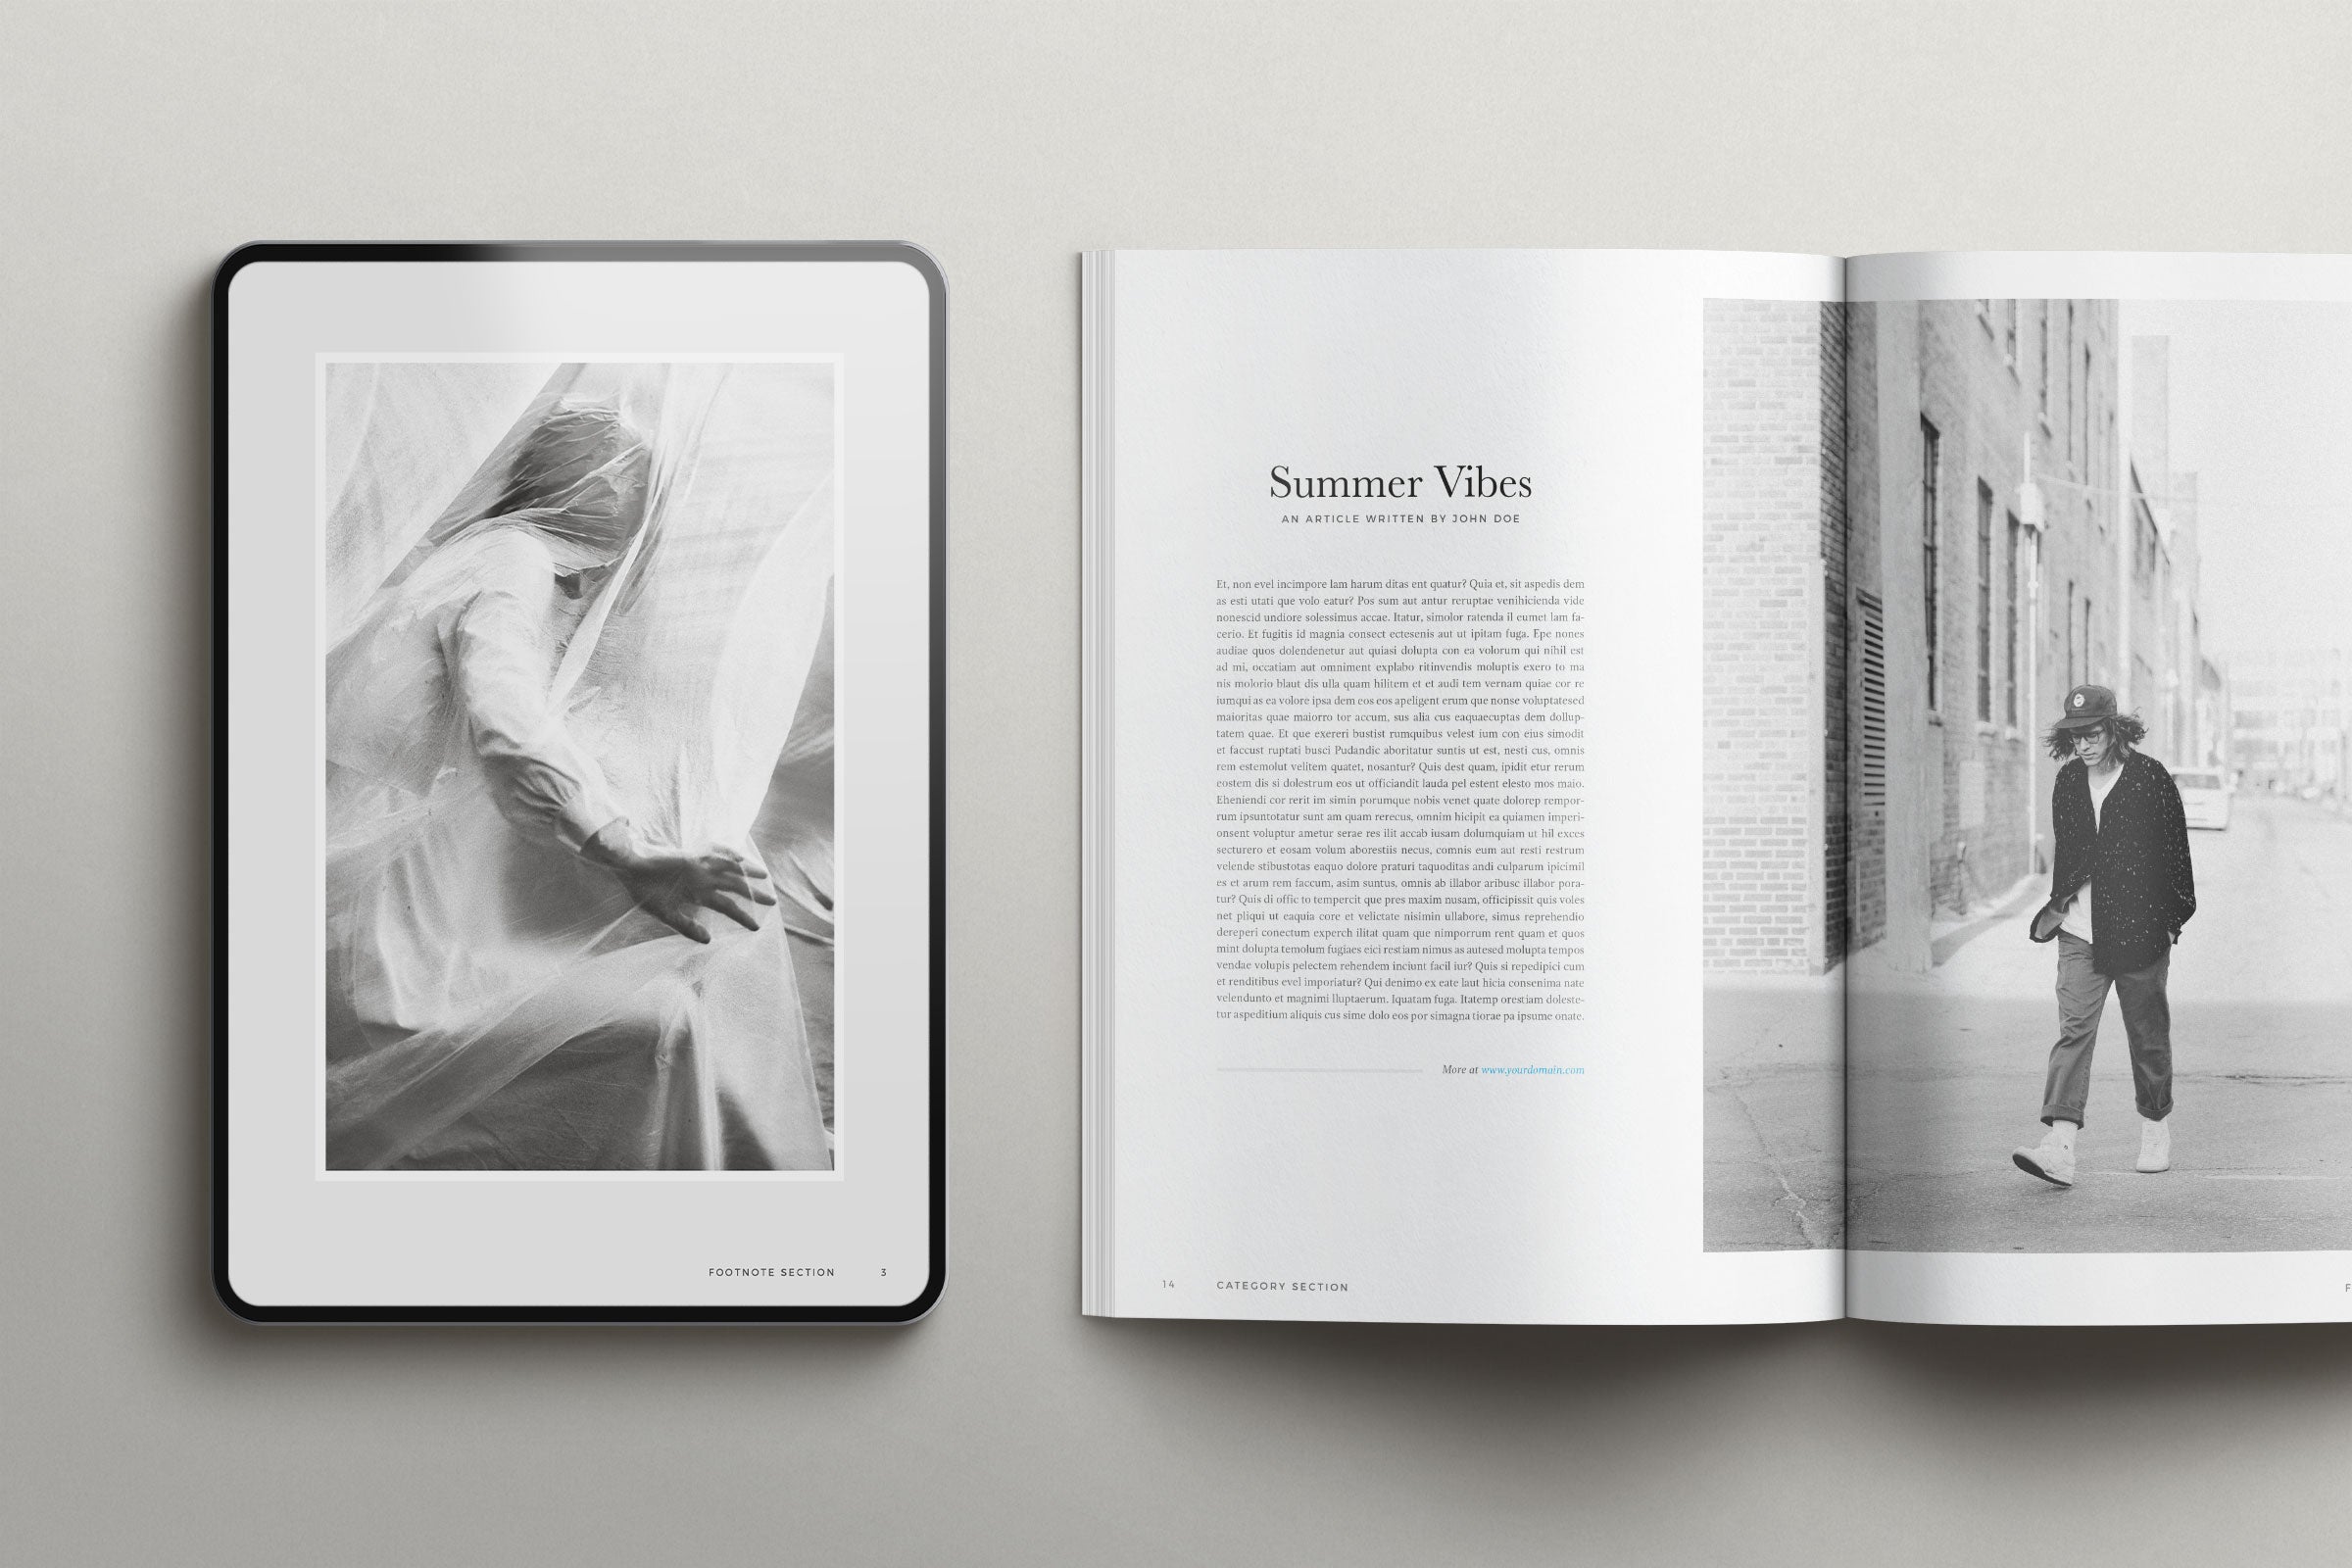
Each template is available in multiple sizes, ready-to-use and fully customizable. They are print-ready and come equipped with essential features for professional printing such as bleeds, paragraph styles and color profiles. They also support digital formats, including ebooks.

Browse the full collection of Adobe InDesign templates by Ruben Stom Design here and easily bring your creative projects to life.
Conclusion
By following these steps, you can effectively troubleshoot and fix pixelated images in Adobe InDesign. Regularly check your image resolution, display performance, and export settings to maintain high-quality designs.
Frequently Asked Questions
Q: Why do images appear pixelated in InDesign even though they are high resolution?
A: Display performance settings might be set to low quality. Adjusting these settings can improve the visual quality of images.
Q: Can I fix pixelated images by changing the file format?
A: Using higher-quality formats like TIFF, PNG, or high-resolution JPEG can help improve image quality.
Q: How does InDesign handle different image resolutions?
A: InDesign displays images at the resolution provided. Images should be at least 300 DPI for high-quality print output.
Q: Is it better to embed or link images in InDesign?
A: Embedding ensures images remain high-quality regardless of file location, but it increases file size. Linking keeps file size smaller but requires careful management of image files.
Q: Can resizing images in InDesign affect their quality?
A: Yes, scaling images beyond their original size can cause pixelation. It's best to use images at or below 100% of their original size.
Q: What display performance options does InDesign offer?
A: InDesign offers three display settings: Fast Display, Typical Display, and High Quality Display. High Quality Display ensures the best visual representation of images.
Q: How can I ensure my exported PDF maintains high image quality?
A: Use the Adobe PDF (Print) export option and set downsampling to at least 300 pixels per inch under the Compression tab.
Q: What common issues can the Preflight panel detect?
A: The Preflight panel can identify issues like low-resolution images, missing fonts, and overset text.
Q: Can low-resolution images be improved for print quality?
A: Low-resolution images cannot be significantly improved. It's best to use high-resolution images from the start.
Q: What are the consequences of using low-quality images in professional design work?
A: Low-quality images can make the final product look unprofessional and can affect print quality, leading to unsatisfactory results.